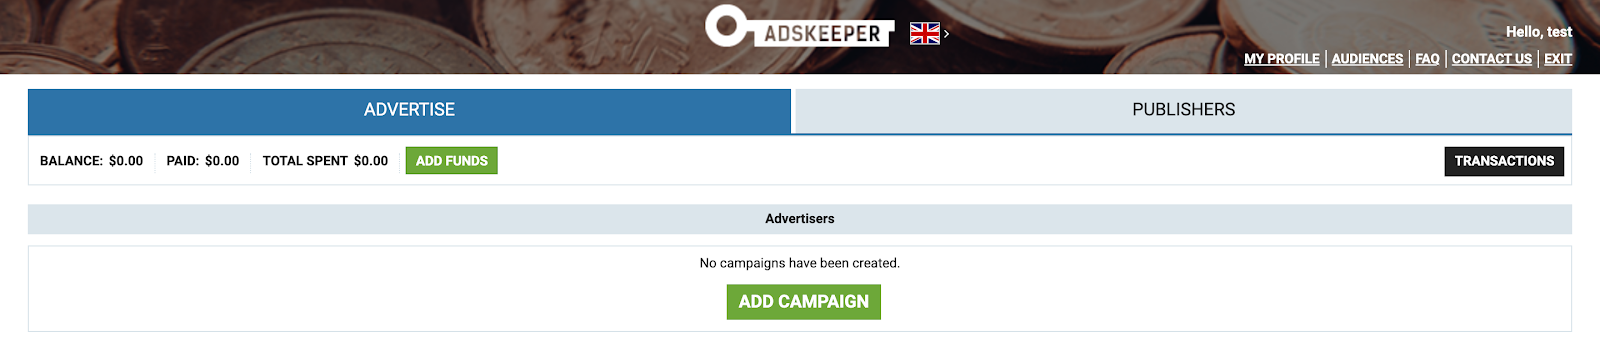
1. Log in to the AdsKeeper Dashboard. Enter your login and password:

2. Start creating the ad campaign by clicking the “Add Campaign” button:
3. After that go to the page where you can create a campaign. Next, fill in each field and then click on the "Confirm" button.
Please note that the campaign type depends on the product or service you wish to advertise. So, for example, if you wish to advertise health&beauty niche product and conversion (CPA, CPL, CPI or any other target action that should be made by the user) is the goal for the promotion, then you should pick Product (native ads) or Push (push-notification ads) promotion.

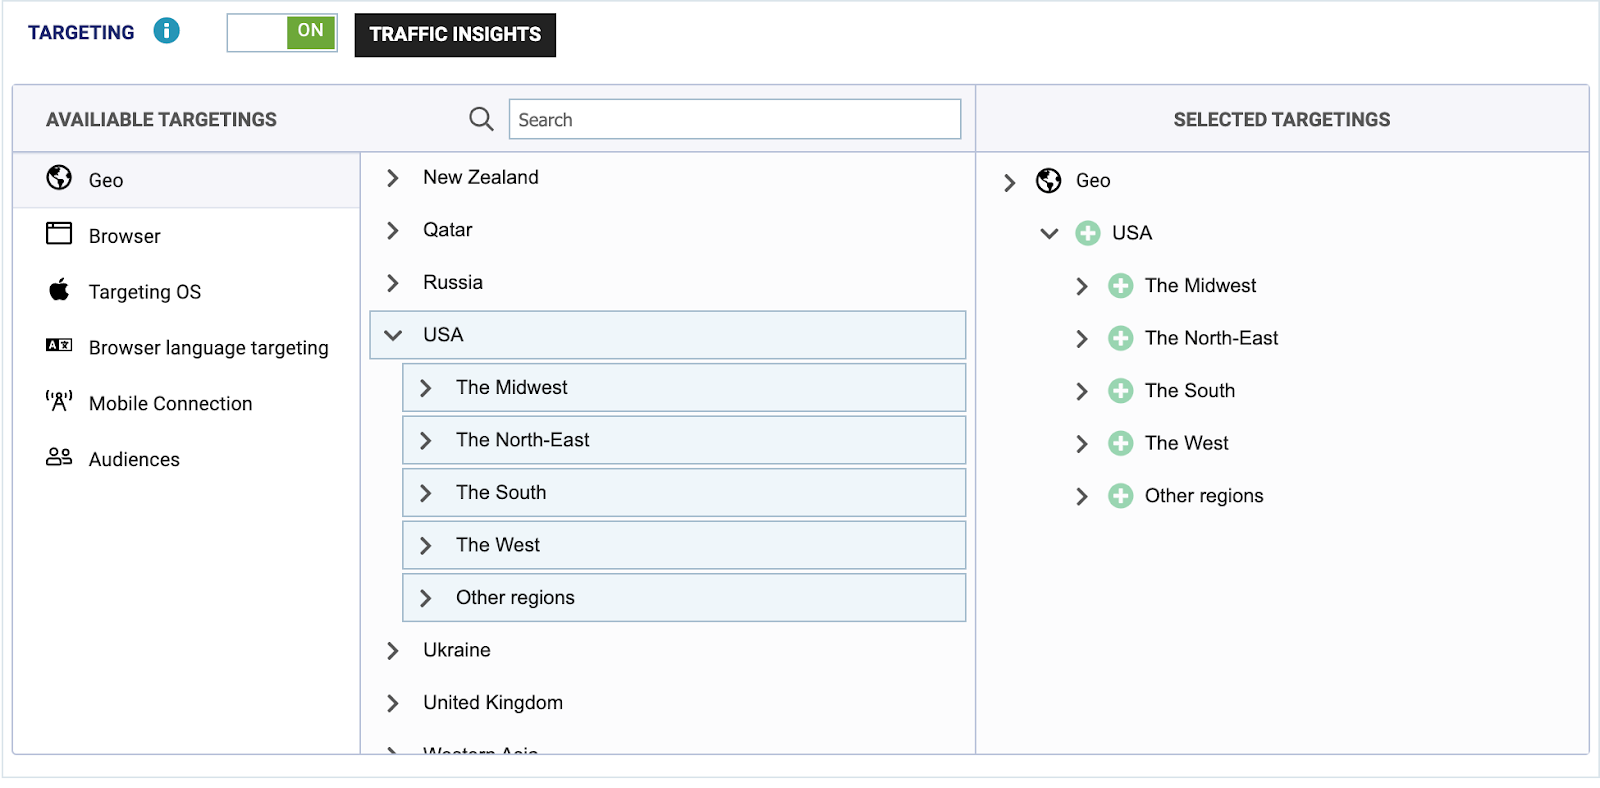
4. In order to set up the ad display to reach visitors from specific regions, devices and/or OS, proceed to the "Targeting" section.
In the “GEO” tab of the “Targeting” section, you can select regions where your ads shall be seen for the users. Add them to the list of regions to display:
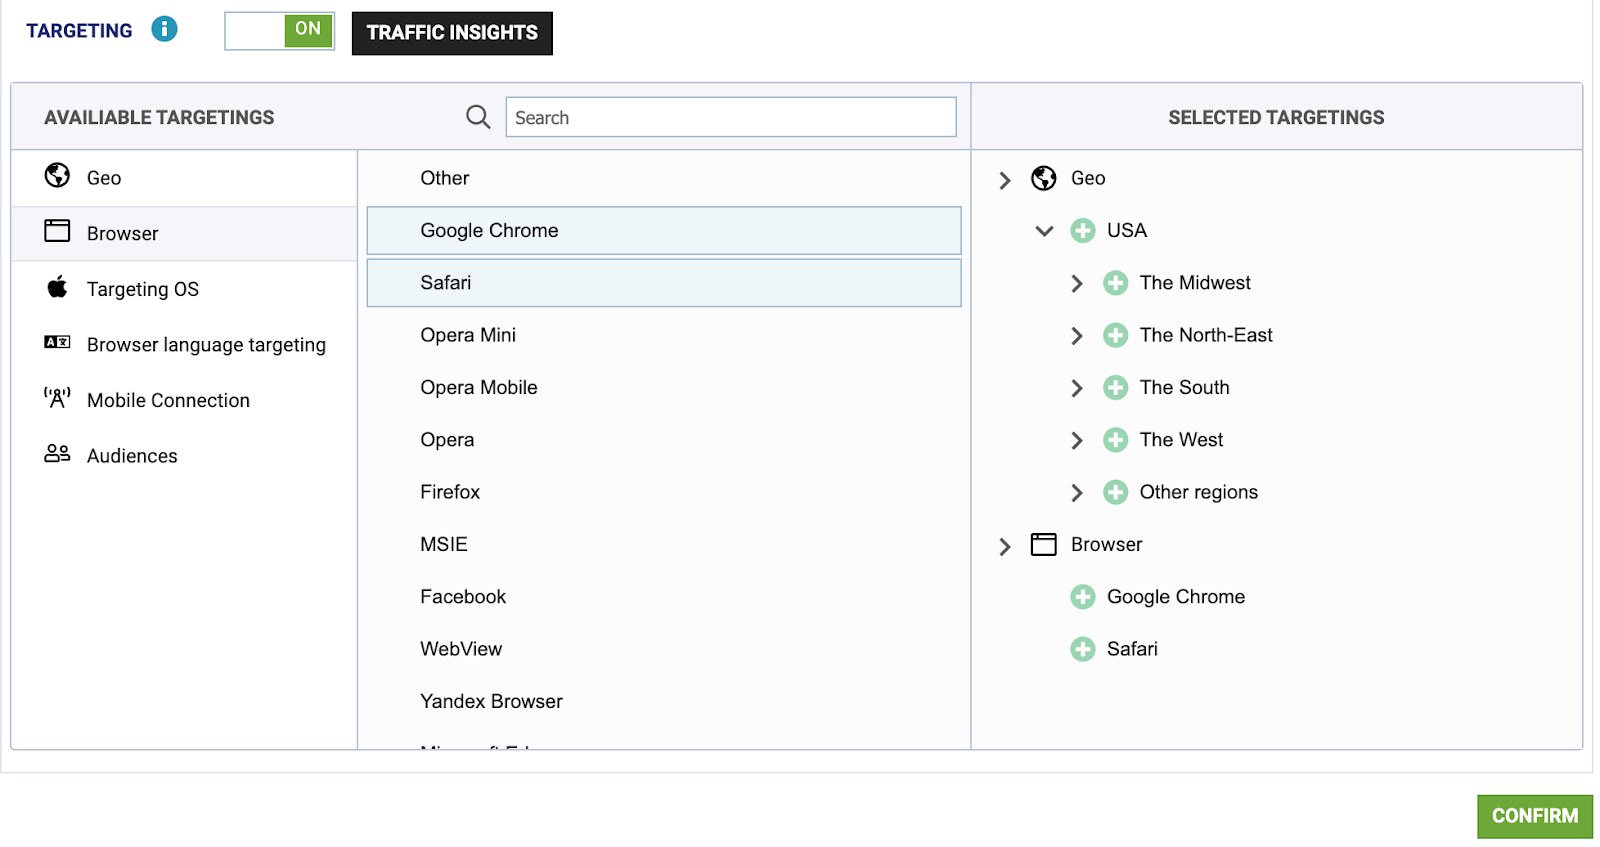
Perform similar actions to set up targeting by browsers, browser/search language, and OS:
5. You may also set the schedule by choosing specific dates, days, and hours for your campaign to run on and set the daily limits (optional):
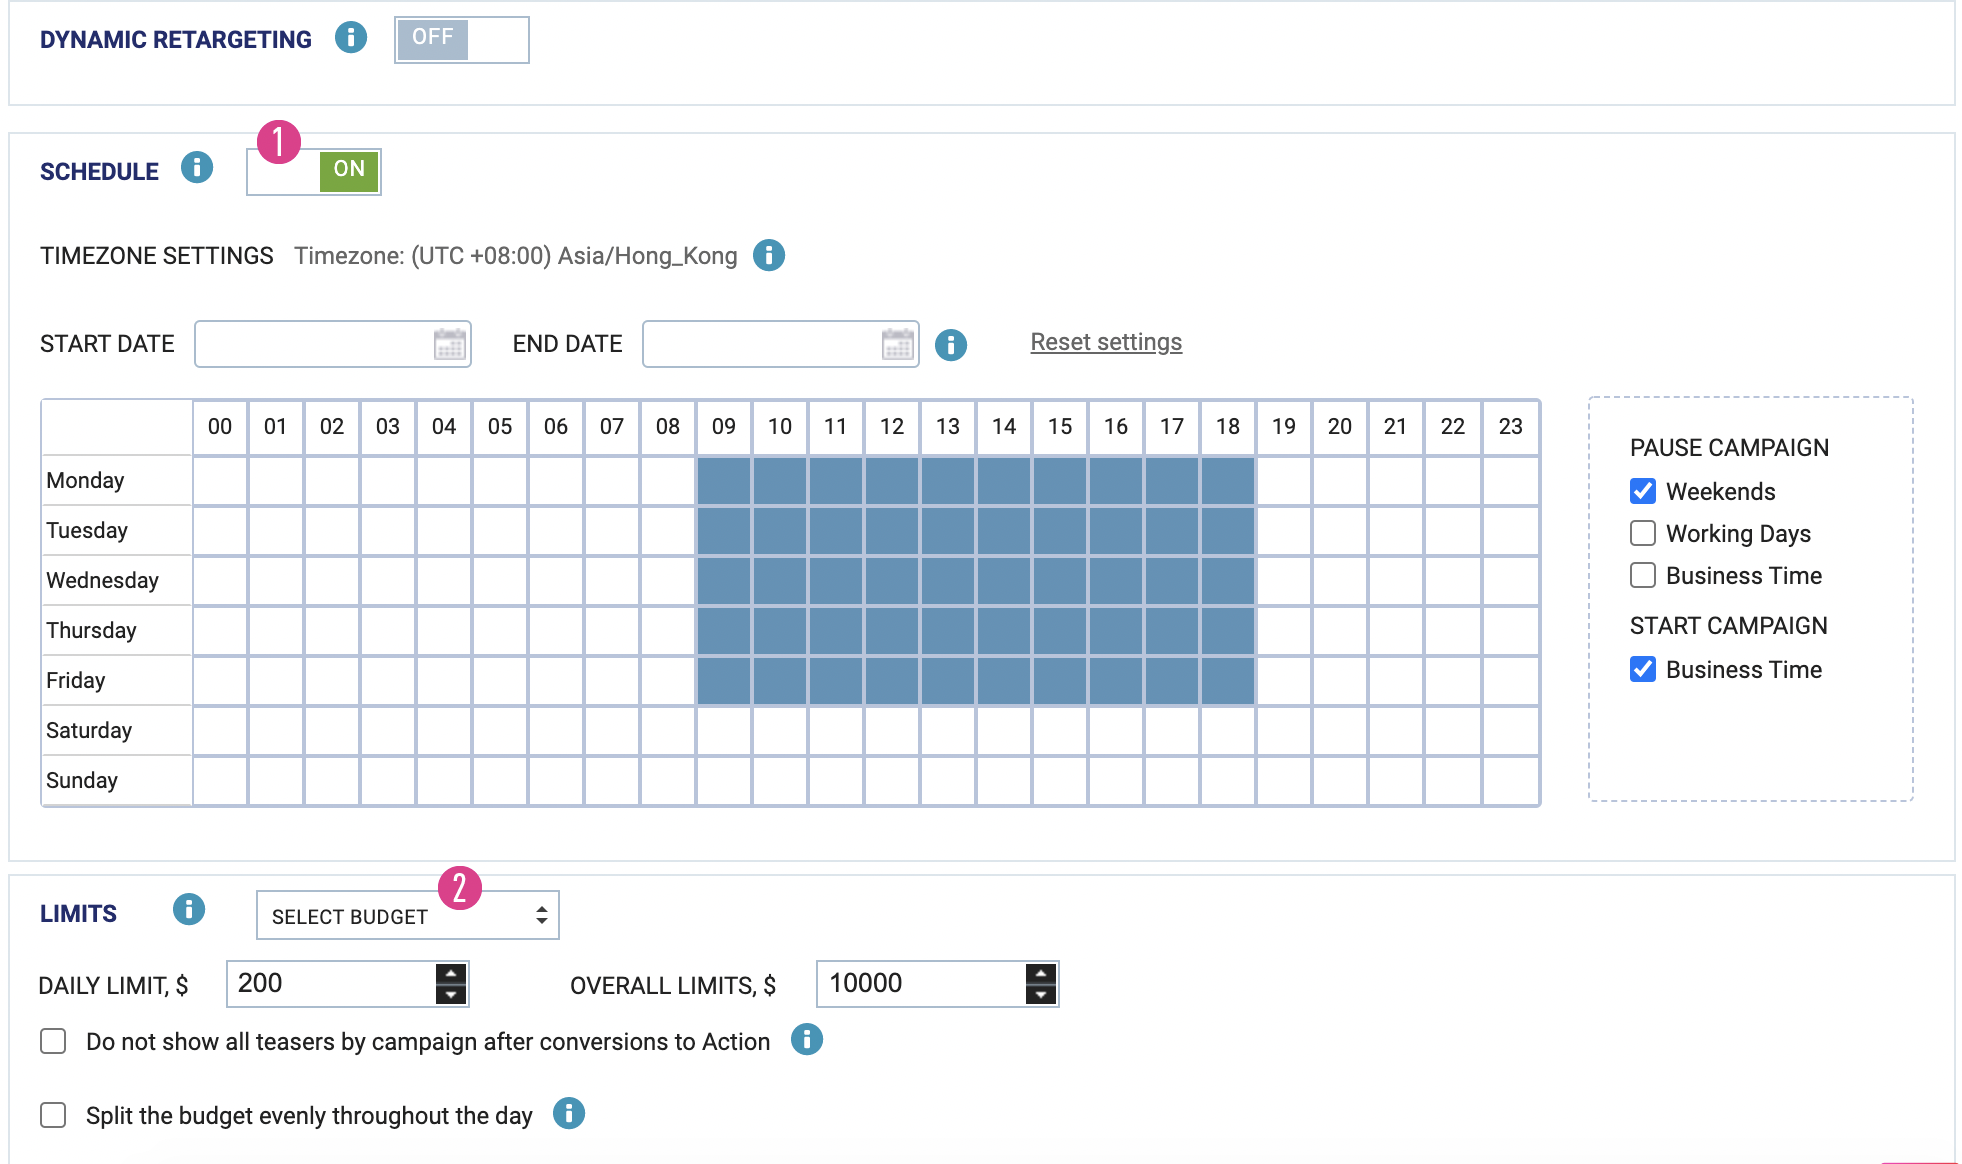
*Please note that if the “Do not show all teasers by campaign after conversions to Action” option is chosen, you need to set up the conversion stages. Otherwise, an error will be displayed with such text: FILL ALL FIELDS WITH APPROPRIATE VALUES.
6. You may set up retargeting as well (optional).
Retargeting is suitable for sites with more than 5000 visitors daily, mostly for online stores, and websites selling services.
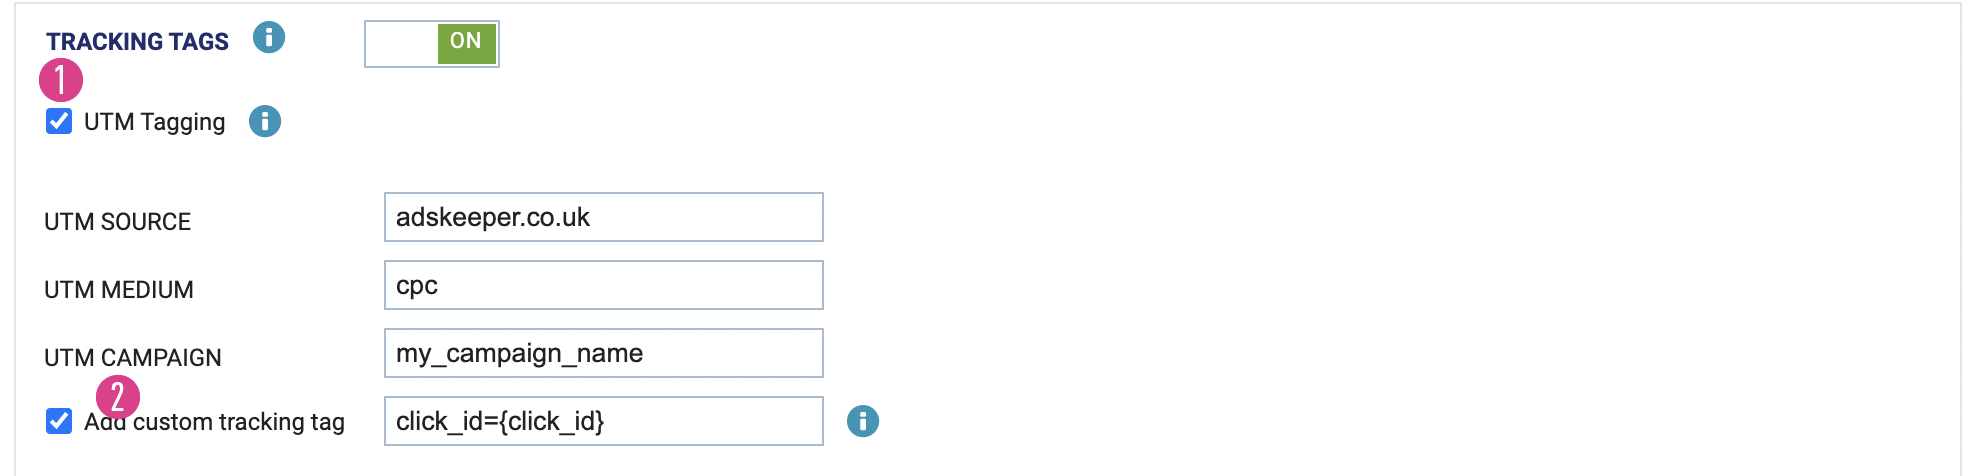
7. UTM Tagging Setup
UTM tags are required for tracking systems like Google Analytics, Yandex Metrix, etc. [1]
Custom tracking tags are used to add any custom tracking. [2]
8. Conversions Tracking
You may choose among the following tracking options:
- Pixel: to install it, you need to place the JS code on your site. It is suitable for websites with a “thank you” page ("thank you for ordering"; "thank you"; etc.)
- Postback (S2S): integration with an affiliate network or a tracker (Keitaro, Binom, Beemob, etc.)
- GTM / GA / YM: direct integration with popular Google and Yandex tracking services.
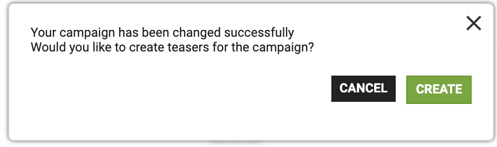
9. Saving the Campaign and adding Creatives
After you have set up the conversion tracking, you will be offered to save the campaign, and then go to the next section to create ads (upload creatives for your campaign):
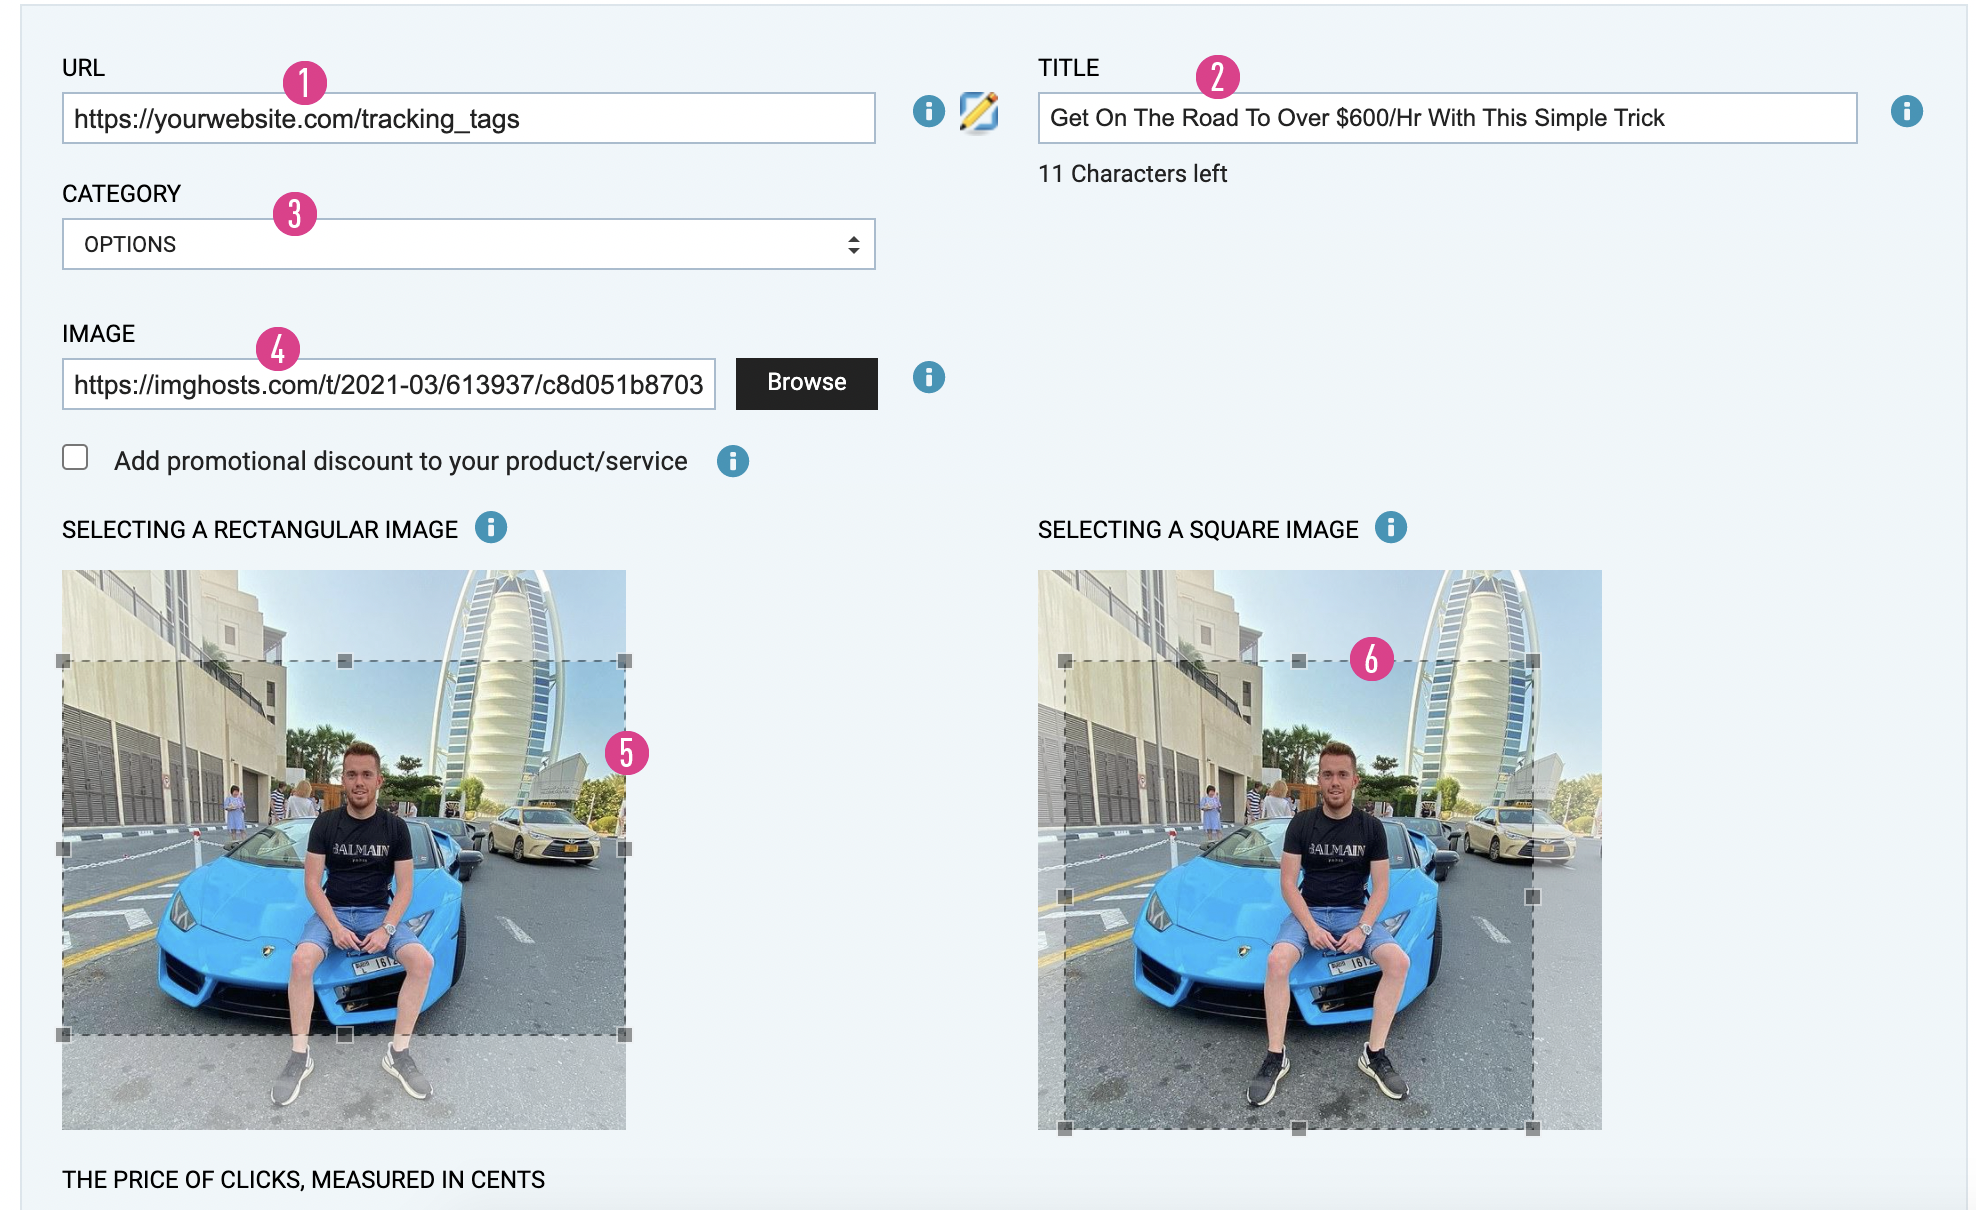
Please follow the next steps to add the creative:
[1] — insert your URL to product/service you plan to advertise (including all necessary tracking features);
[2] — add the creative title;
[3] — choose the category of product/service (should be the same as campaign category);
[4] — insert the URL to image or upload it from your device;
[5], [6] — crop the image, please note that both crops are mandatory for each image.
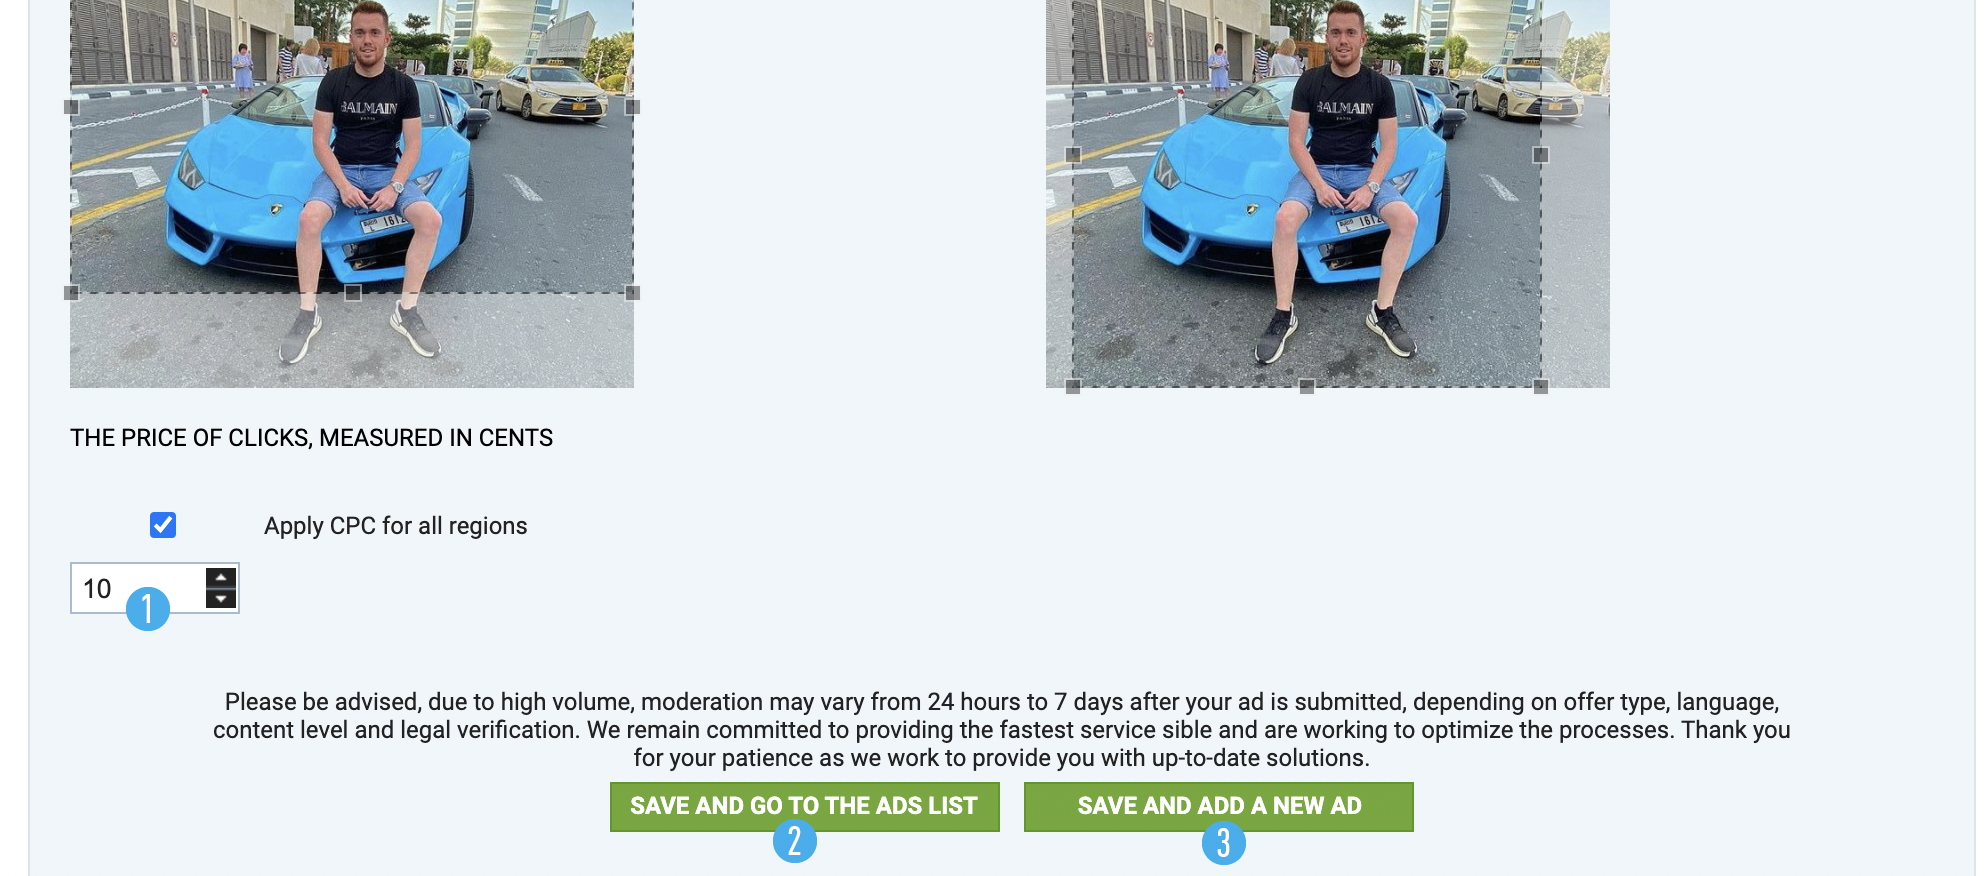
After cropping the image, scroll down and set the CPC for your creative [1]. To finish the creative upload, you may click [2], and if you need to upload more creatives you need to click [3].
You may add creatives by clicking on the green plus button in general Advertising menu:
